


Here’s the recreated version of the “Takedown” CTF walkthrough under your name, Vansh Shrivastava:
Takedown CTF Walkthrough by Vansh Shrivastava
Today, we’ll be tackling a machine from TryHackMe called “Takedown,” which is classified as an Insane difficulty machine.
Challenge link: TryHackMe – Takedown
Before diving in, we’ll check out the provided PDF: OPORDOVERCOOKEDRISOTTO.pdf.
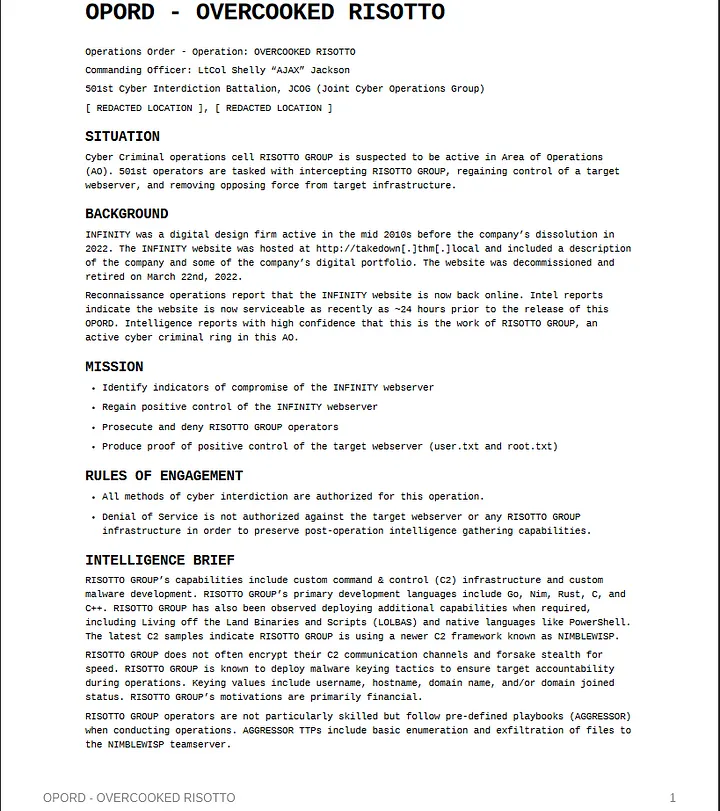
1. Enumeration
After reviewing the PDF and understanding the objectives, we kick things off with a basic Nmap scan.
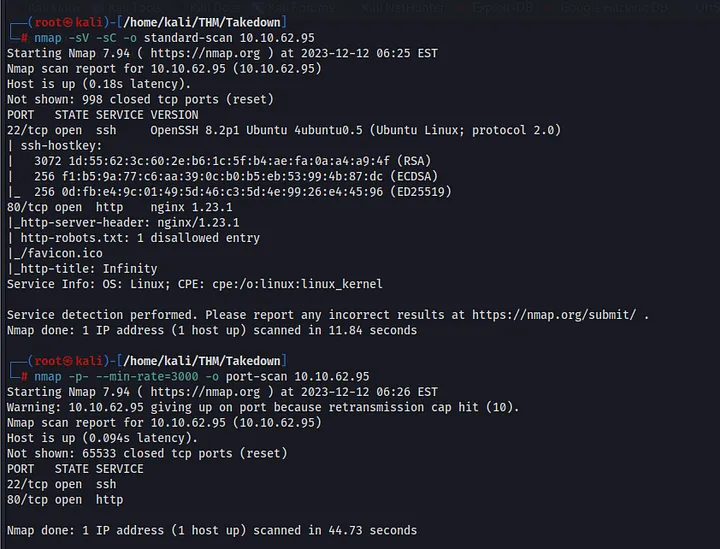
The scan reveals that only ports 22 and 80 are open. We’ll start by investigating port 80.
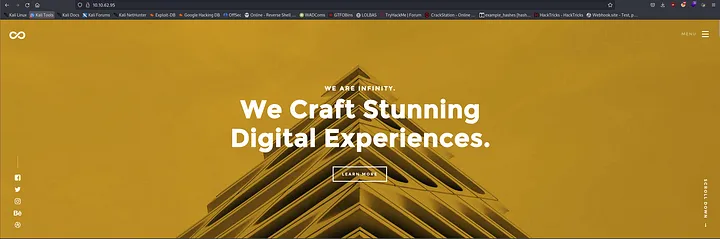
I visited the web server, but nothing stood out initially. So, I launched a web directory brute-forcing tool, feroxbuster. It’s fast, customizable, and user-friendly.
From the scan, we found two interesting items: robots.txt and /inc.
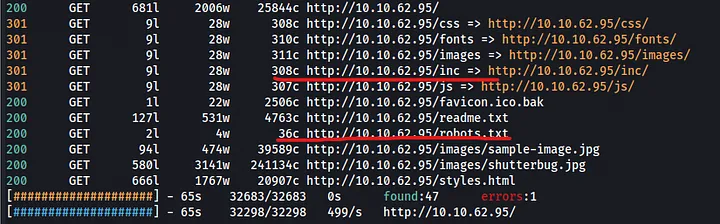
First, let’s check out robots.txt. It disallows bots from accessing favicon.ico. Upon investigating this file, we discovered that it’s not an icon file but a Portable Executable (PE) file.
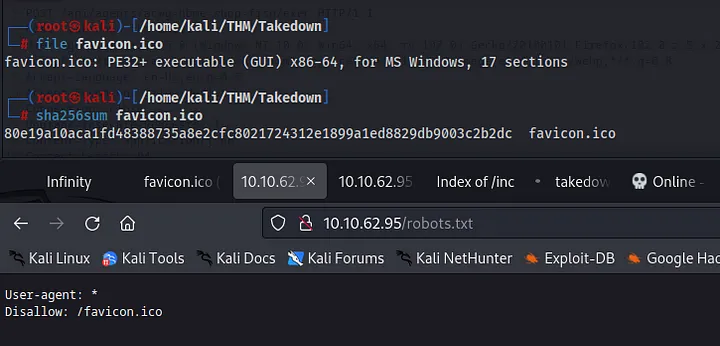
Interestingly, the hash of the favicon matches the one from the PDF. According to the document, the previous attacker gained access through this file.
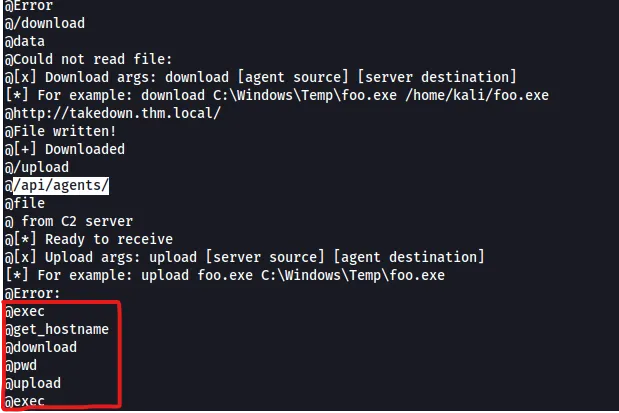
Next, we move to the /api directory, which contains a subdirectory called agents. We could have also found this by reviewing the source code of the favicon.ico. The source code shows six potential commands we can run.
2. Exploitation
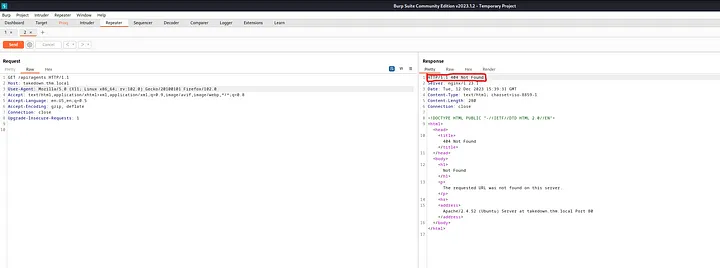
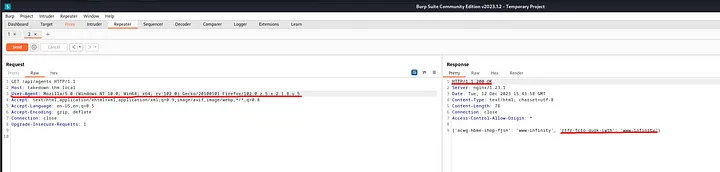
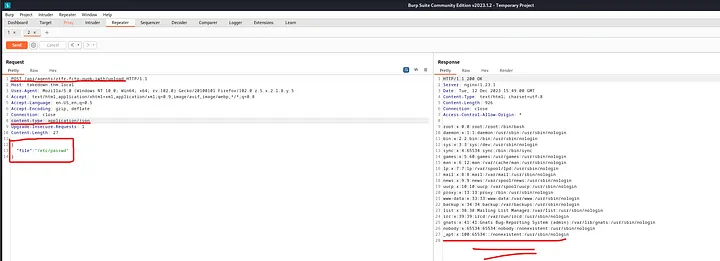
I launched Burp Suite to dig deeper into the /api directory. At first, we got a 404 error. But after changing the user-agent, we received a 200 OK response, along with a UID and hostname.
Next, I specified the agent UID in the URL, changed the content type to application/json, and used the file parameter we extracted from the favicon.ico to read the content of /etc/passwd. Success!
With that confirmation, I tested the upload command and then used the exec command to gain an initial foothold on the target.
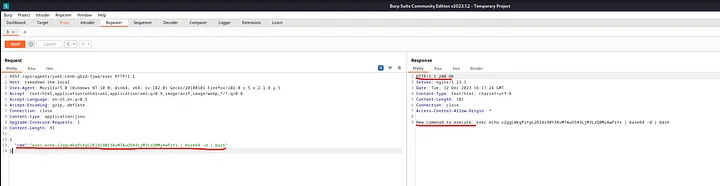
To stabilize the shell, I encoded the payload in base64 to bypass security and used pwncat-cs to streamline the shell experience. And just like that, we got our shell!

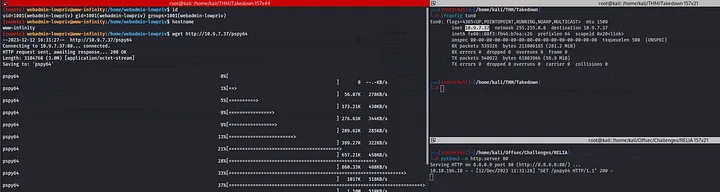
3. Privilege Escalation
During my situational awareness phase, nothing interesting stood out—no SUID, GUID, or group memberships. The usual files like /etc/passwd, /etc/shadow, and /etc/sudoers were all secured.
However, using pspy, I noticed an anonymous cron job running every minute. Time to dig deeper.
I uploaded pspy to the target, made it executable, and inspected the output. A strange file, /usr/share/diamorphine_secret/svcgh0st, was running in the background. A quick Google search revealed that it’s part of a popular rootkit called Diamorphine.
https://github.com/m0nad/Diamorphine/tree/master
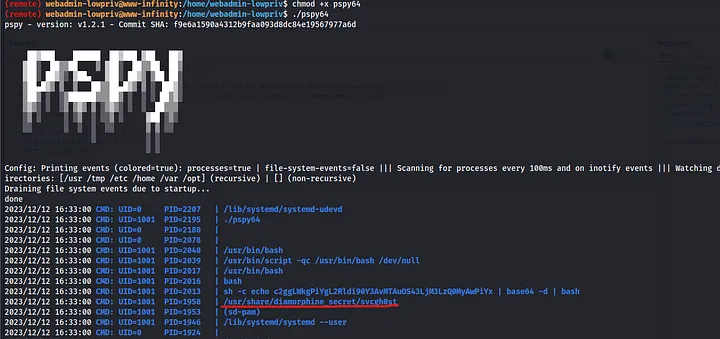
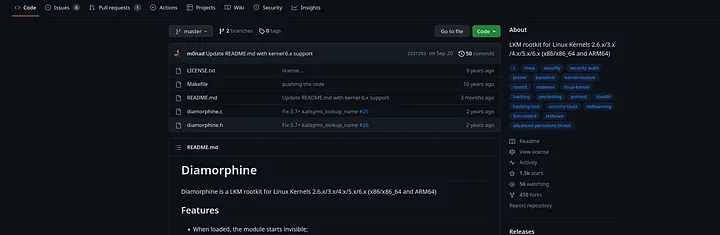

According to the creator of this rootkit, sending a signal 64 to any process ID elevates the user to root. Let’s try it!

4. Post Exploitation
Finally, with root access, it’s time to capture the flags!
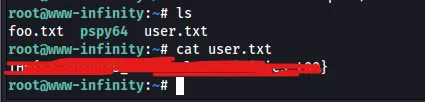
User Flag: Captured

Root Flag: Captured
Conclusion:
Although TryHackMe lists this as an Insane difficulty machine, I’d rank it somewhere between Medium and Hard. It was an exciting challenge that gave me plenty of enjoyment. Thanks for reading this walkthrough, and I hope you enjoyed it as much as I did!
Let me know if you need any adjustments!